Running UTORvpn
-
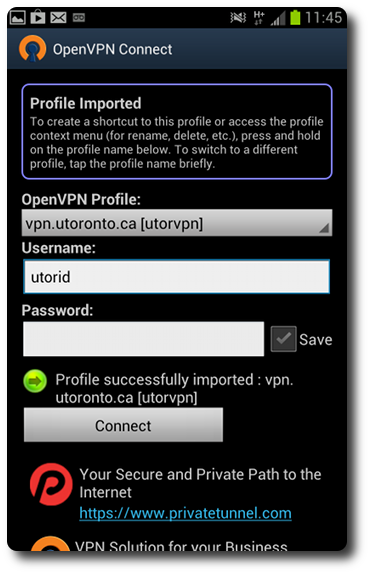
Now that you have installed your UTORvpn configuration file, you can connect to
UTORvpn by entering your UTORid and password and clicking "Connect".
-
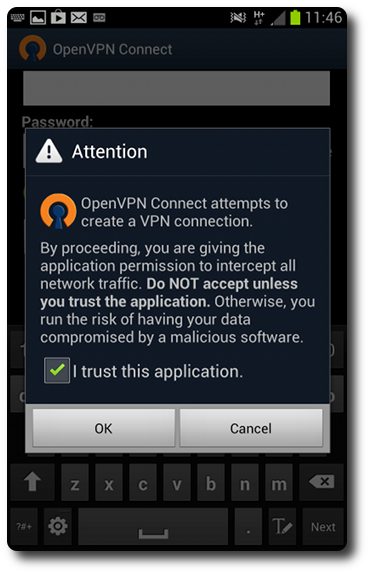
You will be prompted to trust the application so that it can create a VPN
tunnel. Check the "I trust this application" checkbox and click "OK" to
continue.
-
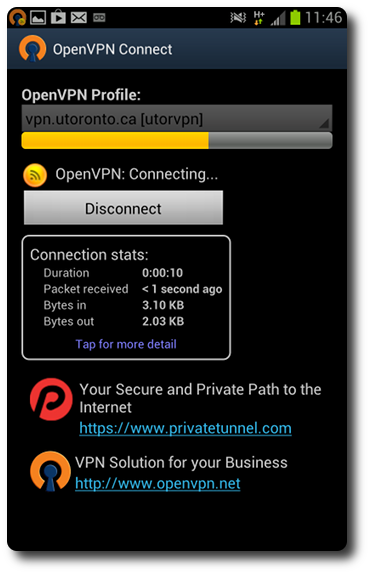
The VPN connection will briefly show a "Connecting" status:
-
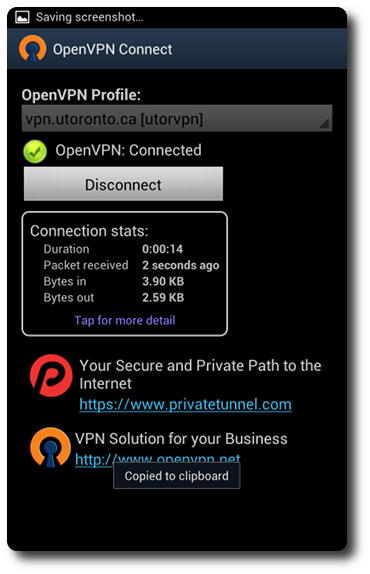
Once you are connected the application should look like this:
And your menu bar will have two new icons, indicating that the UTORvpn
connection has been established:
